
To quickly set up a zombie shelter, start by choosing a safe location with natural barriers and a single access point. Gather essential materials like sturdy building supplies, non-perishable food, water, medical supplies, and tools. Clear the area of debris and lay a strong foundation with gravel and rebar. Construct sturdy walls using concrete blocks or logs, and reinforce doors and windows. Create an escape plan with multiple exits and stock up on enough supplies to last at least two weeks. If you're interested in additional tips for ideal setup, stick around.
Choose a Safe Location
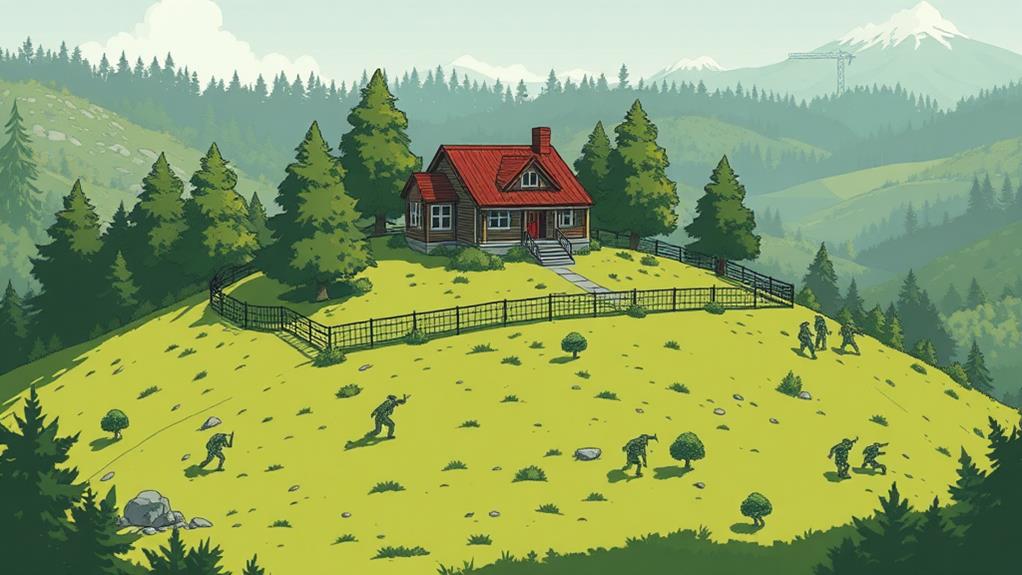
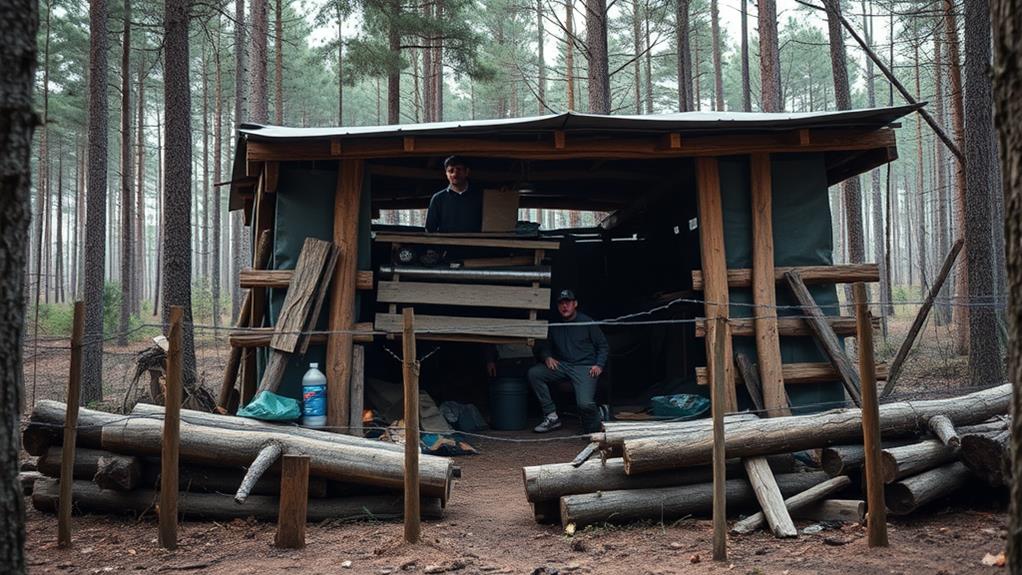
One of the most critical steps in setting up a fast zombie shelter is choosing a safe location. You need to prioritize areas that offer natural barriers, such as cliffs or rivers, which can slow down or deter zombies. High ground is preferable because it provides better visibility and reduces the likelihood of surprise attacks.
Urban areas might seem convenient due to resources, but they're often crawling with zombies. Instead, look for more isolated places like a rural farmhouse or a cabin in the woods. These locations reduce the risk of large zombie hordes finding you. Verify the chosen spot has a single, easily defensible access point. Multiple entry points make it harder to secure and monitor.
Accessibility is another key factor. While you want isolation, you also need to be able to reach the location quickly and safely. Check for nearby water sources and consider the terrain; rough terrain can slow zombies but also complicate your movement.
Lastly, evaluate the structural integrity of the building. Weak structures won't hold up against a determined horde. Reinforced walls and sturdy doors are non-negotiables. By carefully choosing a secure location, you're setting a strong foundation for your fast zombie shelter.
Gather Essential Materials
After securing a safe location, the next pivotal step is gathering essential materials. Start with sturdy building supplies like wood, metal sheets, and nails. These will fortify your shelter against zombie attacks. Scavenge local hardware stores, abandoned buildings, or even dismantle existing structures to get what you need.
Next, prioritize basic survival needs. Stockpile water, non-perishable food, and medical supplies. Water containers, canned goods, and first-aid kits should be your go-to items. Remember to grab manual tools like can openers, knives, and a multitool. You'll need these for both daily tasks and emergency situations.
Don't forget about lighting and power. Flashlights, batteries, and portable chargers are essential. If you can find solar-powered options, even better—they're sustainable and reliable. Additionally, gather materials for warmth and comfort. Blankets, sleeping bags, and extra clothing can make a huge difference in your morale and health.
Lastly, consider security. Reinforce entry points with barricades or locks, and gather weapons for self-defense. Bats, crowbars, or even makeshift spears can help you fend off any threats. By focusing on these essential materials, you'll guarantee your shelter is both secure and livable.
Clear the Area
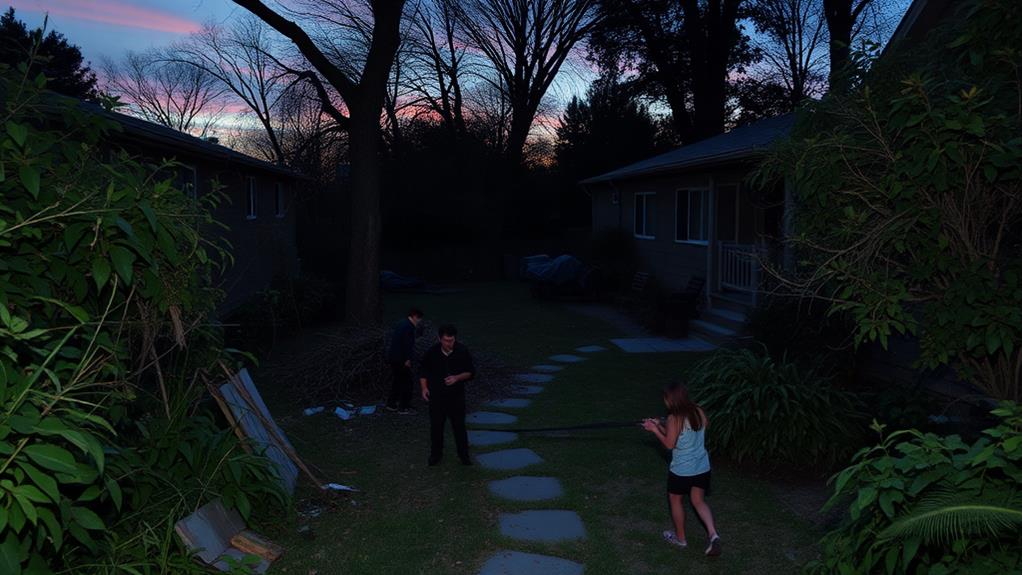
With your essential materials gathered, it's time to clear the area around your chosen shelter. This step is vital for ensuring you have a safe and manageable space to build your fortress. Begin by removing any debris, loose branches, or clutter that could obstruct your construction efforts or provide hiding spots for zombies. Use a rake, shovel, or even your hands if necessary, to get the job done swiftly.
Next, eliminate any tall grass or weeds. These can conceal dangers and make it harder to see approaching threats. A scythe or weed trimmer will make short work of this task. Pay special attention to any objects that could be used as weapons or tools for the undead, such as broken glass or rusty metal. Dispose of these hazards safely to prevent accidents.
Build a Strong Foundation
Laying a strong foundation is essential to guaranteeing your zombie shelter can withstand both time and attacks. Start by choosing a location with firm, stable ground. Avoid areas prone to flooding or shifting soil. Once you've cleared the area, dig down at least two feet to create a solid base. This depth helps anchor your shelter and makes it harder for zombies to burrow underneath.
Next, lay a layer of gravel at the bottom of your excavation. This helps with drainage and prevents water from weakening your foundation. Compact the gravel using a tamper to secure it's level and stable. Over this, pour a thick layer of concrete, about six inches deep. Use rebar for additional strength; place the rods in a grid pattern, spacing them approximately a foot apart.
While the concrete is still wet, run a screed over the surface to smooth it out. Let it cure for at least 24 hours before proceeding with any further construction. This curing time is imperative for achieving maximum strength. By taking these steps, you'll secure your foundation is robust, giving your shelter the stability it needs to protect you from any undead threats.
Construct Sturdy Walls
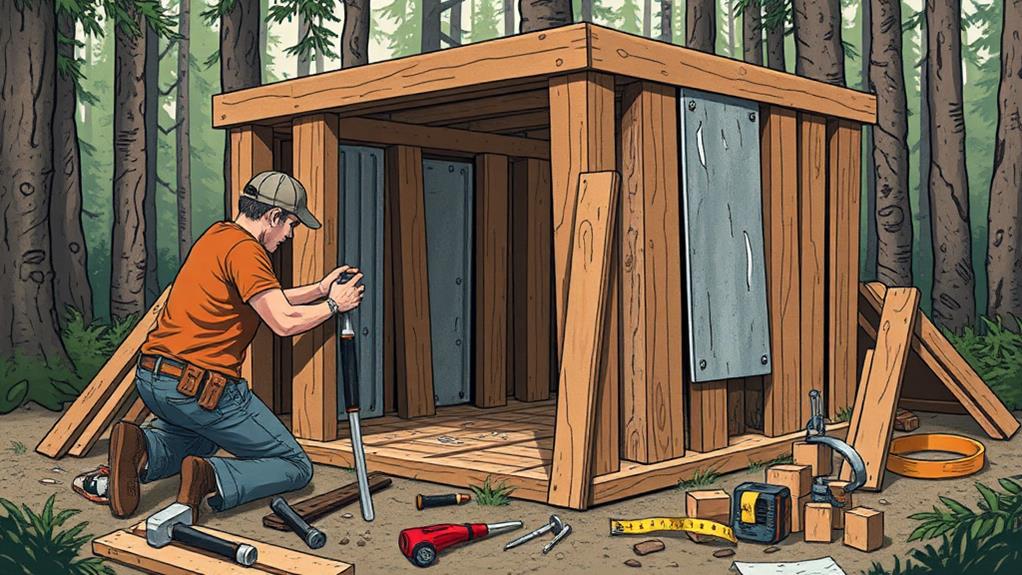
Once your foundation has cured, it's time to focus on constructing the walls of your zombie shelter. Start by choosing durable materials like concrete blocks, steel, or thick wooden logs. These materials provide the necessary strength to withstand potential zombie attacks. When selecting the best materials for zombie shelters, prioritize those that can endure both physical impact and weathering over time. Reinforce your walls with rebar or additional layers of concrete to enhance their resilience. A well-built structure ensures a safe and secure environment, keeping you one step ahead in any apocalyptic scenario.
To guarantee your walls are sturdy, follow these steps:
- Lay out your wall dimensions on the foundation.
- Mix the mortar or use pre-mixed concrete for binding.
- Begin placing the blocks or logs, verifying each layer is level.
- Reinforce with rebar or steel rods for added strength.
- Allow the structure to set and cure properly.
Here's a quick reference table for materials and their advantages:
| Material | Advantages | Disadvantages |
|---|---|---|
| Concrete Blocks | High durability, fire-resistant | Heavy, requires mortar |
| Steel Panels | Extremely strong, quick to install | Expensive, needs welding |
| Wooden Logs | Natural insulation, widely available | Prone to rot, needs treatment |
Make sure to account for insulation inside your walls to maintain a stable internal temperature and prevent dampness. Double-check each section for any weak points or gaps. Remember, zombies are relentless, so your walls need to be flawless. Once the walls are up, you're one step closer to a secure zombie shelter.
Secure Entrances and Windows
Ensuring the safety of entrances and windows is crucial to fortifying your zombie shelter. Start by reinforcing your doors with heavy-duty locks and deadbolts. If you can, install a solid metal or hardwood door since these materials are harder for zombies to break through. Adding a metal security bar across the door can provide an extra layer of protection.
Next, focus on your windows. Use plywood to board up all windows from the inside. This will prevent zombies from shattering the glass and gaining entry. If you've got the resources, consider installing metal grilles or bars over the windows. They can offer long-term security and are tough to breach.
Don't forget to secure any other potential entry points like vents, basement windows, or skylights. Use metal mesh or grates to cover these areas and fasten them securely. For added peace of mind, set up motion sensor lights around all entrances and windows. This will alert you to any movement outside and keep you one step ahead.
Create an Escape Plan
After securing all entrances and windows, it's important to think about your next move in case your shelter becomes compromised. An effective escape plan can be the difference between life and death. Start by identifying multiple exits. Don't rely solely on the front door; consider windows, back doors, or even creating an emergency exit if necessary.
Next, guarantee these exits are easily accessible and not blocked by furniture or other obstacles. Practice using them to familiarize yourself with the quickest routes. If you have others with you, guarantee everyone knows the plan and their specific roles. Communication is key—designate a meeting point outside the shelter where everyone can regroup.
Map out a few routes leading away from your shelter, avoiding main roads where zombies might gather. Stick to back alleys, wooded areas, or other less-traveled paths. Keep these routes clear of debris and revisit them regularly to guarantee they're still viable.
Lastly, equip yourself with portable essentials like a flashlight, multi-tool, and first-aid kit. These items should be easy to grab on the go. Remember, the goal is to stay safe, stay mobile, and stay one step ahead of the zombies.
Stock Up on Supplies
Stocking up on supplies is essential to your survival in a zombie apocalypse. You'll need essentials to keep you safe, healthy, and alert. Start with food and water. Non-perishable items like canned goods, dried fruits, and bottled water are imperative. Aim for at least a two-week supply. Don't forget a can opener!
Next, focus on medical supplies. A well-stocked first-aid kit can be a lifesaver. Include bandages, antiseptics, pain relievers, and any prescription medications you require. Don't overlook hygiene products like soap, hand sanitizer, and toilet paper.
Lastly, gear up with tools and weapons. A flashlight with extra batteries, a multi-tool, and something for self-defense, like a baseball bat or knife, are indispensable.
Here's a quick reference table to get you started:
| Category | Essential Items | Quantity |
|---|---|---|
| Food & Water | Canned goods, bottled water | 2-week supply |
| Medical | First-aid kit, medications | Thorough |
| Tools & Weapons | Flashlight, multi-tool, bat | Essential |
Organize these supplies in your shelter for easy access. Being prepared guarantees you won't scramble when danger strikes. Your readiness could be the difference between life and death.
At a Glance
In a crisis, setting up a zombie shelter quickly is like building a fortress against the unknown. By choosing a safe location, gathering essential materials, and constructing sturdy walls, you'll create a haven for survival. Don't forget to secure entrances and windows, and always have an escape plan. Stock up on supplies to sustain you, and you'll be ready to face whatever comes. Stay vigilant, and your shelter will be your sanctuary.


